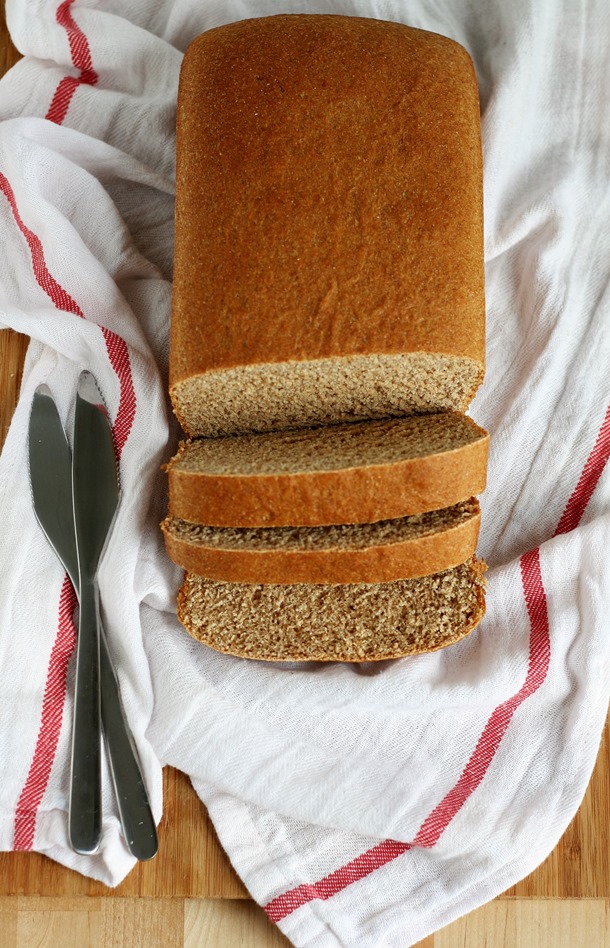
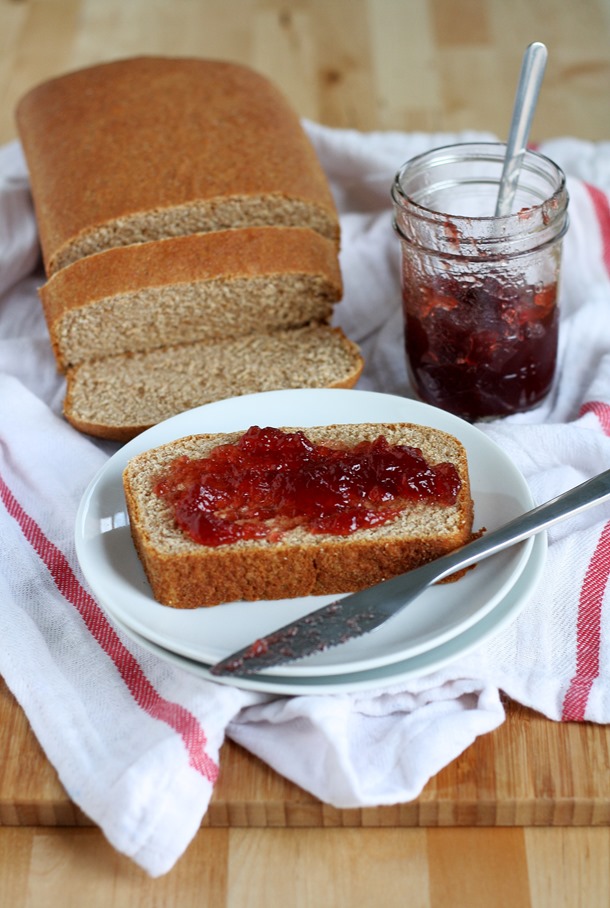
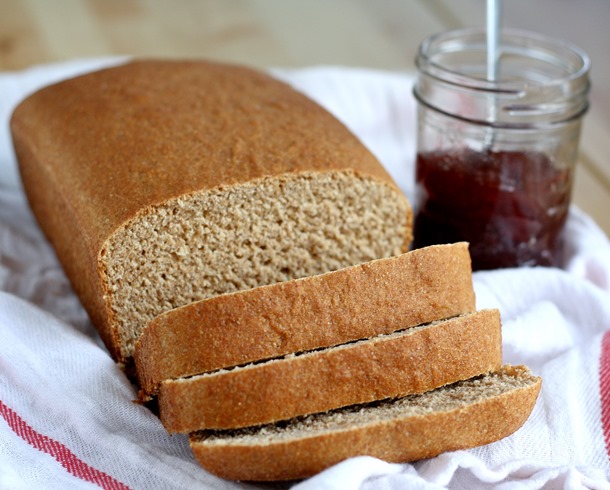
As most of you know I’ve decided to recommit myself to getting my food budget under control this year which, by default, has meant relying less on processed foods. I’ve actually been loving this little byproduct of my food budget experiment. I find that I prefer food made from scratch in lieu of the store-bought version.
So with that said, I decided that, while buying a loaf of sandwich bread is not that expensive, I wanted to make an effort to begin making my own…purely because it makes the house smell amazing and it’s one less item I need to add to my grocery list.
My sister had given me her favorite 100% whole wheat bread recipe a while back and I’ve been meaning to make it forever.
I can happily say that now that I have, I don’t think I’ll ever be going back.
There’s little to be said about this except that it’s perfectly doughy with a wonderfully lightly sweetened nutty flavor.
If whole wheat bread is ever on your “to make” list – I suggest using this recipe.
{100% whole wheat bread} from king arthur flour
- 1 to 1 1/4 cups lukewarm water*
- 1/4 cup canola oil
- 1/4 cup honey, molasses, or maple syrup (I used honey)
- 3 1/2 cups King Arthur Premium 100% Whole Wheat Flour
- 2 1/2 teaspoons instant yeast or 1 packet active dry yeast dissolved in 2 tablespoons of the water in the recipe
- 1/4 cup nonfat dried milk
- 1 1/4 teaspoons salt
*Use the greater amount in winter or in a dry climate; the lesser amount in summer or a humid climate.
directions:
- In a large bowl, combine all of the ingredients and stir till the dough starts to leave the sides of the bowl. Transfer the dough to a lightly greased surface, oil your hands, and knead it for 6 to 8 minutes, or until it begins to become smooth and supple. (You may also knead this dough in an electric mixer or food processor, or in a bread machine programmed for “dough” or “manual.”) Note: This dough should be soft, yet still firm enough to knead. Adjust its consistency with additional water or flour, if necessary.
- Transfer the dough to a lightly greased bowl or large measuring cup, cover it, and allow the dough to rise till puffy though not necessarily doubled in bulk, about 1 to 2 hours, depending on the warmth of your kitchen.
- Transfer the dough to a lightly oiled work surface, and shape it into an 8″ log. Place the log in a lightly greased 8 1/2″ x 4 1/2″ loaf pan, cover the pan loosely with lightly greased plastic wrap, and allow the bread to rise for about 1 to 2 hours, or till the center has crowned about 1″ above the rim of the pan. Towards the end of the rising time, preheat the oven to 350°F.
- Bake the bread for 35 to 40 minutes, tenting it lightly with aluminum foil after 20 minutes to prevent over-browning. The finished loaf will register 190°F on an instant-read thermometer inserted into the center.
- Remove the bread from the oven, and turn it out of the pan onto a rack to cool. If desired, rub the crust with a stick of butter; this will yield a soft, flavorful crust. Cool completely before slicing. Store the bread in a plastic bag at room temperature.
nutrition information
Serving Size: 1 slice Servings Per Batch: 16Amount Per Serving: Calories: 150 cal Calories from Fat: Total Fat: 3.5g Saturated Fat: Trans Fat: . Cholesterol: 0mg Sodium: 200mg Total Carbohydrate: 24g Dietary Fiber: 3g Sugars: 5g Protein: 5g.
3


Wow, incredible! I’m vegan, is there a sub for the fried milk?
This site offers some good suggestions you might consider trying! http://www.livestrong.com/article/208885-vegan-substitutes-for-powdered-milk/
Oh man, this looks to die for. Nothing beats homemade bread. Mmm :).
It can’t be beat! The smell alone makes it worth it 🙂
Cait! I love homemade bread and this recipe turned out simply beautiful. You are a gifted photographer! As a college student on a very tight budget, I am all for making things like bread from scratch. They just get so expensive at the store!
Thank you so much for your kind compliments! I’m glad you like the recipe – it’s definitely a good one 🙂 And agreed – being on a budget, as much as you can make from scratch, the better!
That is the perfect looking loaf of bread!
It was probably the best one I’ve ever made. This recipe is GOLD! Perfect snack food for a beautiful pregnant belly! 😉
The first time I ever made homemade bread was from this exact recipe! It’s been almost three years but I still remember how amazing it was! I really want to make bread more often but it’s just so hard to carve out the time to allow all the rises! I have to say though that it’s totally worth the work! Love the pic with the jam!
Ah that’s too funny!! And I know – I stupidly made this late at night and ended up being up forever waiting for it to rise then bake! Haha. But it was totally worth it 🙂
Fresh bread is THE BEST!
Agreed! It just absolutely cannot be matched by store-bought!