You know how sometimes when you get that afternoon snack craving it feels like absolutely nothing will work but carbs and chocolate?
Usually when that’s the case for me, my go-to is to grab some form of an energy bar.
Luna. Clif. Kashi.
Any of those will do so long as it contains oats, nuts and chocolate.
The only problem with that, is at sometimes over $2 a pop, it can add up. So I decided to make my own!

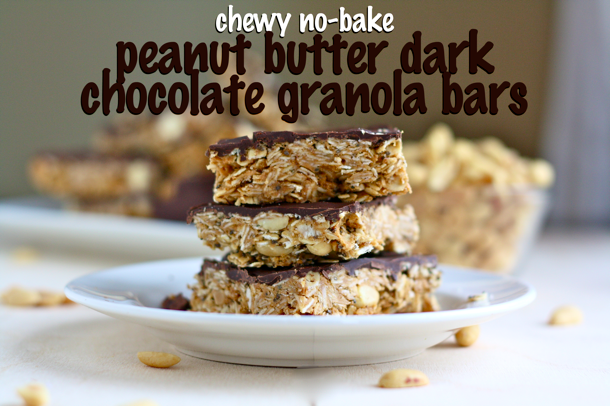
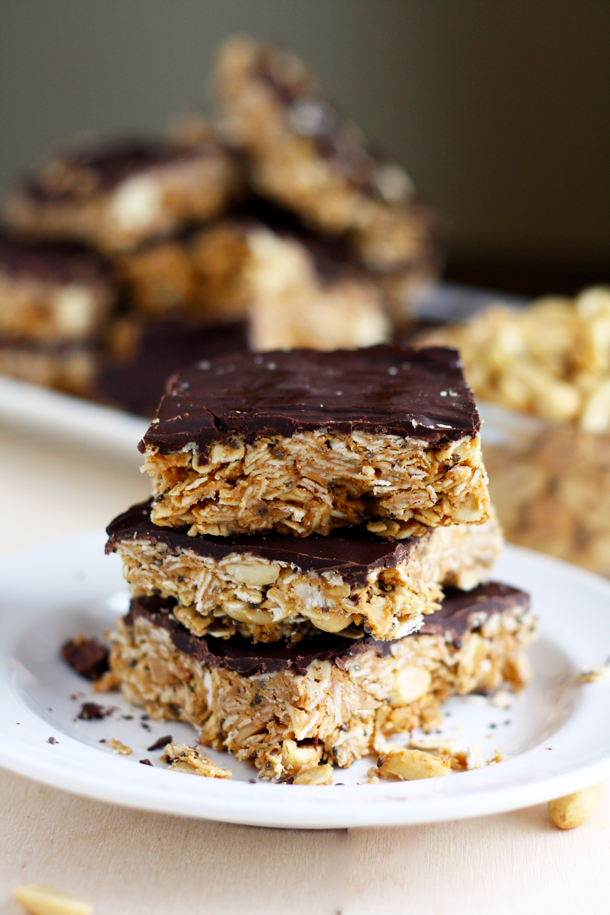
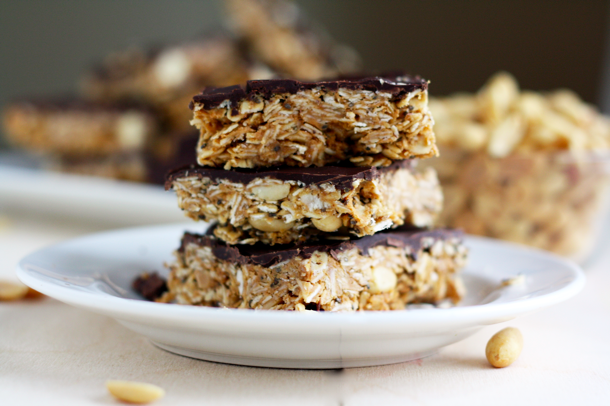
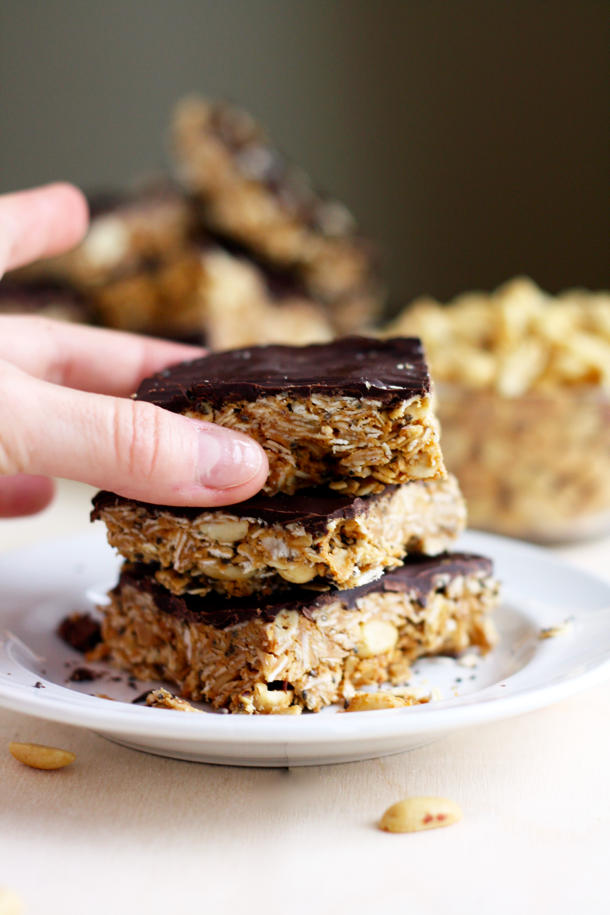
Chewy, no-bake peanut butter dark chocolate granola bars. Not only are these way cheaper, but they’re just about as easy [I might even argue easier] as running into the store to buy one.

I love not only how few steps there are in this recipe, but also how few [though powerful] ingredients there are.
Oats.
Dark Chocolate.
Peanut butter.
Peanuts.
Honey.
Chia seeds.

Hard to beat. VERY hard to beat.
Chewy No-Bake Peanut Butter Dark Chocolate Granola Bars (bar base from howsweeteats)
Makes 12 squares
Ingredients:
- 4 cups old-fashioned oats
- 1/2 cup honey
- 2 tablespoons of chia seeds
- 1/2 cup unsalted, roasted peanuts
- 3/4 – 1 cup natural creamy peanut butter
- Package of dark chocolate chips
Directions:
- Line a 9×13 inch baking pan with parchment paper
- Combine oats through peanut butter in a large bowl and mix until well combined
- Press combined ingredients into prepared pan and put in the the refrigerator for at least 60 minutes [I did mine overnight]
- Heat package of dark chocolate chips on the stovetop in a small pot until just melted; stirring vigorously the entire time, being careful not to burn the chocolate
- Immediately pour chocolate over cooled, set bar base then place back into the fridge to allow the chocolate to set [again, I did this overnight]
- Once cooled, slice into 12 squares then wrap individually with plastic wrap

These look fabulous! So simple but delicious!
They’re SO good and the ease of how quickly they come together is just an added bonus 🙂
These look perfect! I hate how expensive all the other bars are. I really prefer makin my own too. Besides, there are no hidden ingredients in them when you make them at home!
Exactly! I think that’s probably my favorite part about these – easy, simple ingredients! Well that and they taste flippin’ delicious 🙂
So easy – love it!
🙂 Definitely worth making!
these sound amazing and sooo sticking easy!!! I will be making these!!
Yay! Let me know what you think!
I did not add enough of something because a decent amount of them crumbled apart! I even did a cup less of oats! Oh well they were tasty non the less and I used a chocolate orange (because thats what I had) instead of dark chocolate which was tasty as well!
Gah really!? I’m so sorry to hear it! :(. Glad that they were still tasty though – chocolate orange sounds delicious!!
Yum! Slather chocolate on top of just about anything and I’m game.
Haha right?? I’m the same way.
This is my kind of snack! I always feel like whipping something up is easier than at trip to the store, too. Especially when they turn out as good as these look!
OF COURSE we’re on the same page with that. You have to make these and have Adrienne test them so I can know if they’re really as good as I think they are 🙂 I miss you friend! I need to find a way to get myself to CO for a visit!!
I’d take these over a store bought bar any day! I’m doing an adventure race next weekend and may take these with! Do you think they’ll hold up for 8 hours of craziness?
Hmm – that’s a good question. They hold together pretty well, but I’m also not running through mud with them when I eat them so that might not be true if that’s the case…haha.
I think I’d put the chocolate chips directly into the bar rather than coat them because there’d be less melting that way. And I’d maybe bake them for a bit to get that honey to act more like a glue so they have a better chance of staying together.
If you try it, let me know how they hold up and any tweaks you make!
Those look REALLY good. I’m usually not a no bake fan, but I think I have to try these!!
They’re probably the best no-bake bar I’ve ever had! If you try them, let me know how to measure up for ya! 🙂
LOVE these! I always reach for a Cliff Mojo or a Luna Bar for an afternoon pick-me-up but I would happily have one of these… Pinning and planning to make these soon 😀
Yay! Let me know how you like them – I’m hoovering my way through this batch, so I hope they’re as much as a hit with you!
yummmmm! so easy and so few ingredients, my kinda recipe!
🙂
I love how little ingredients it takes!
Same here – by far my favorite part about it!
These looks fantastic. So easy to make too. Perfect treat and perfect treat to share with friends.
…or in my case, to polish off yourself before you even get the chance to share!! 😉
Those look GREAT!
Thanks! They really did turn out delicious 🙂
looks absolutely yummy and definitely gives those bars a run for their money, I am so going to try making them! thanks for sharing!!! ((:
Yay!! You’re so welcome – let me know what you think if you do!
Maybe I didn’t read carefully, but just to be sure: the honey and chia seeds go in with the peanut butter? Thank you!
Yup! I literally threw everything into the bowl together then mixed well to combine and thoroughly coat the oats with the honey and peanut butter 🙂
So yum! I need to make these!!!
Let me know what you think if you do! 🙂
Um yum these look awesome!
Haha – they were!!
I just love seeing your pictures. They are always so good!
Aw thank you so much Shannon!
Mmm…these bars look chewy, chocolatey, and just plain satisfying! I’d love to try making a batch for grab-n-go breakfasts!
I think that’s a brilliant idea!
well these just look like a healthy & energizing version of my favorite 7-layer bars. i think this recipe is a keeper. thanks for sharing!
My pleasure! And mmm – LOVE 7 layer bars. I bet this recipe would be great with some coconut flakes!
I am wondering how Steel Cut Oats would do in place of the Old Fashion Oats? Have you ever tried it that way or received feedback from someone that did? They look amazing, super excited to make them!
Hmm, I haven’t ever tried them that way but I think if you like a heartier texture they should probably would out fine!
These are amazing my new all time family favorite my kids love them as well !!!! But im wondering how many calories are in one square i cant figure it out for nothing please help
It’s hard to say because it depends on exactly how much of each ingredient you are using and what type (i.e. whether you’re chopping the peanuts or leaving them whole, using a full cup of peanut butter and what kind of peanut butter you use, etc) as well as the size you’re cutting the bars. I tend to cut mine bigger so I would say the way that I make them would have somewhere around the same calories as a Clif-type energy bar (200-300). Hope that helps!
that makes scene and it did help thank you !!!!
Great – so glad to hear it!
I made these bars today. I changed a few ingredients. I took almond butter instead of peanut butter and I did not put peanuts. These bars are really good. Only downside, the chocolate cracked in a few places where I cut the bars. (But I admit not having waited overnight for the chocolate hardens, just a few hours.) 😉
Yum! Those changes sound delicious! Sorry about the chocolate cracking! I think it’s inevitable that it happens a little even if you do wait overnight so it’s definitely worth it to just dig in! 🙂