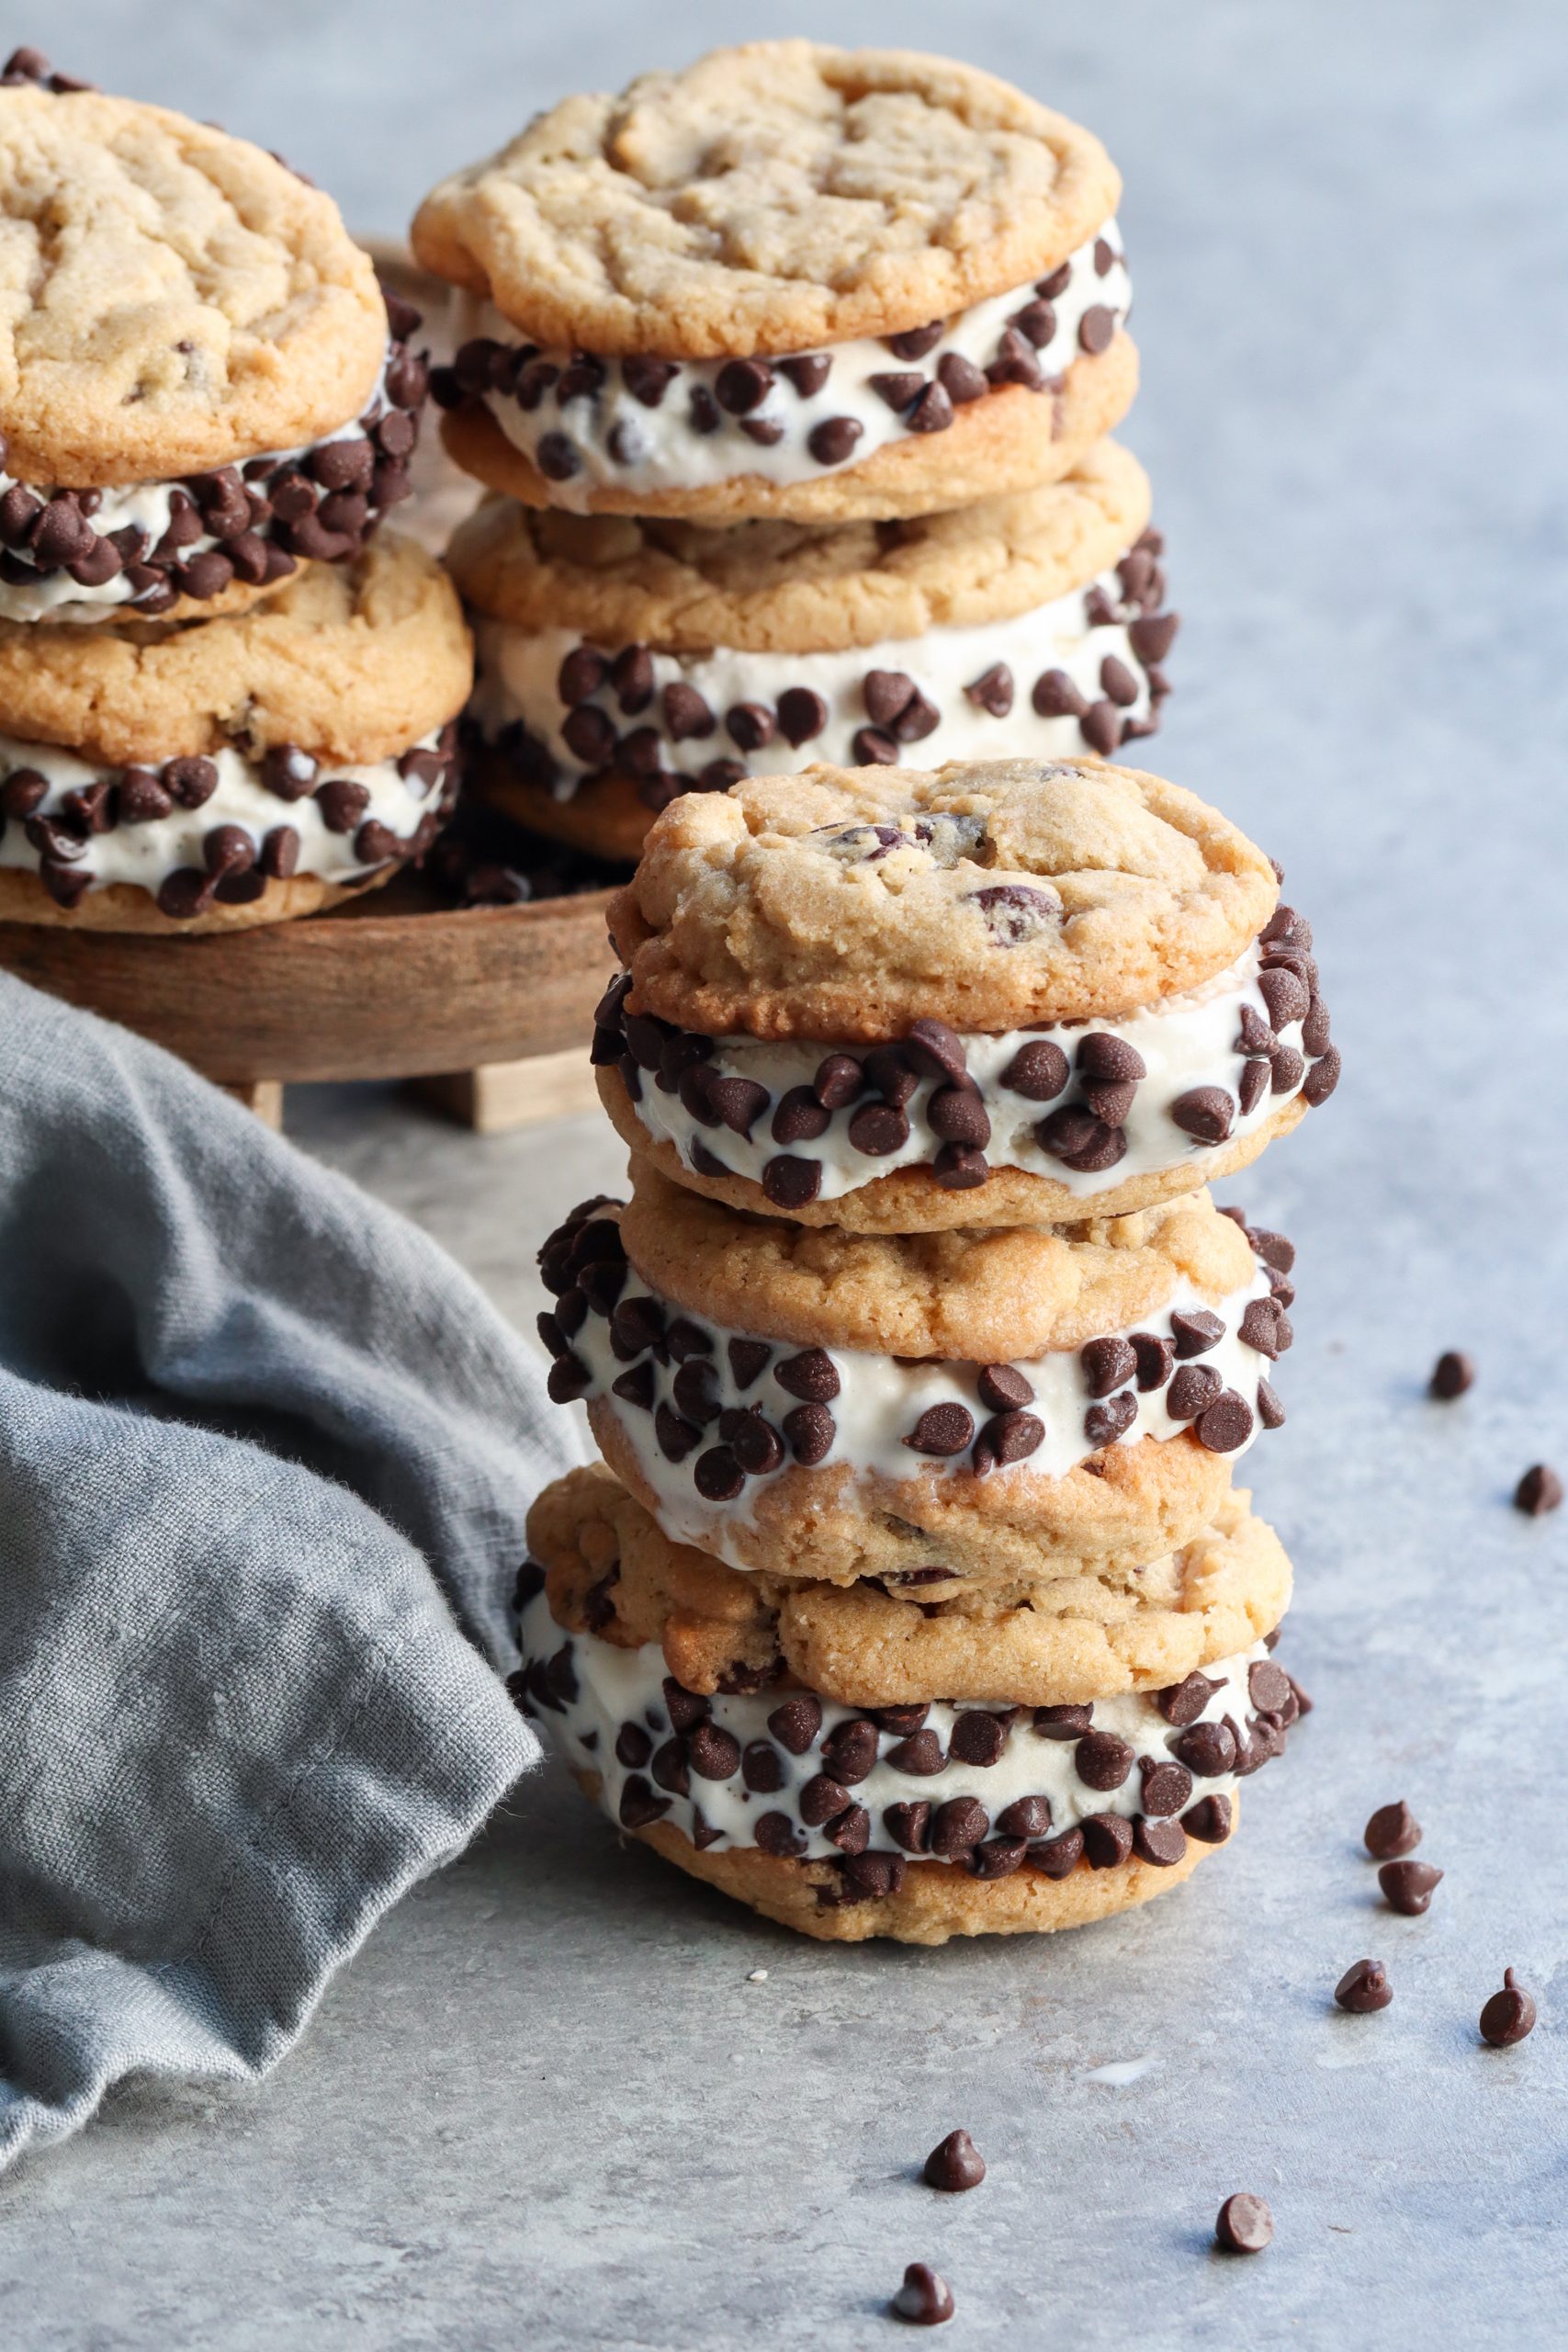
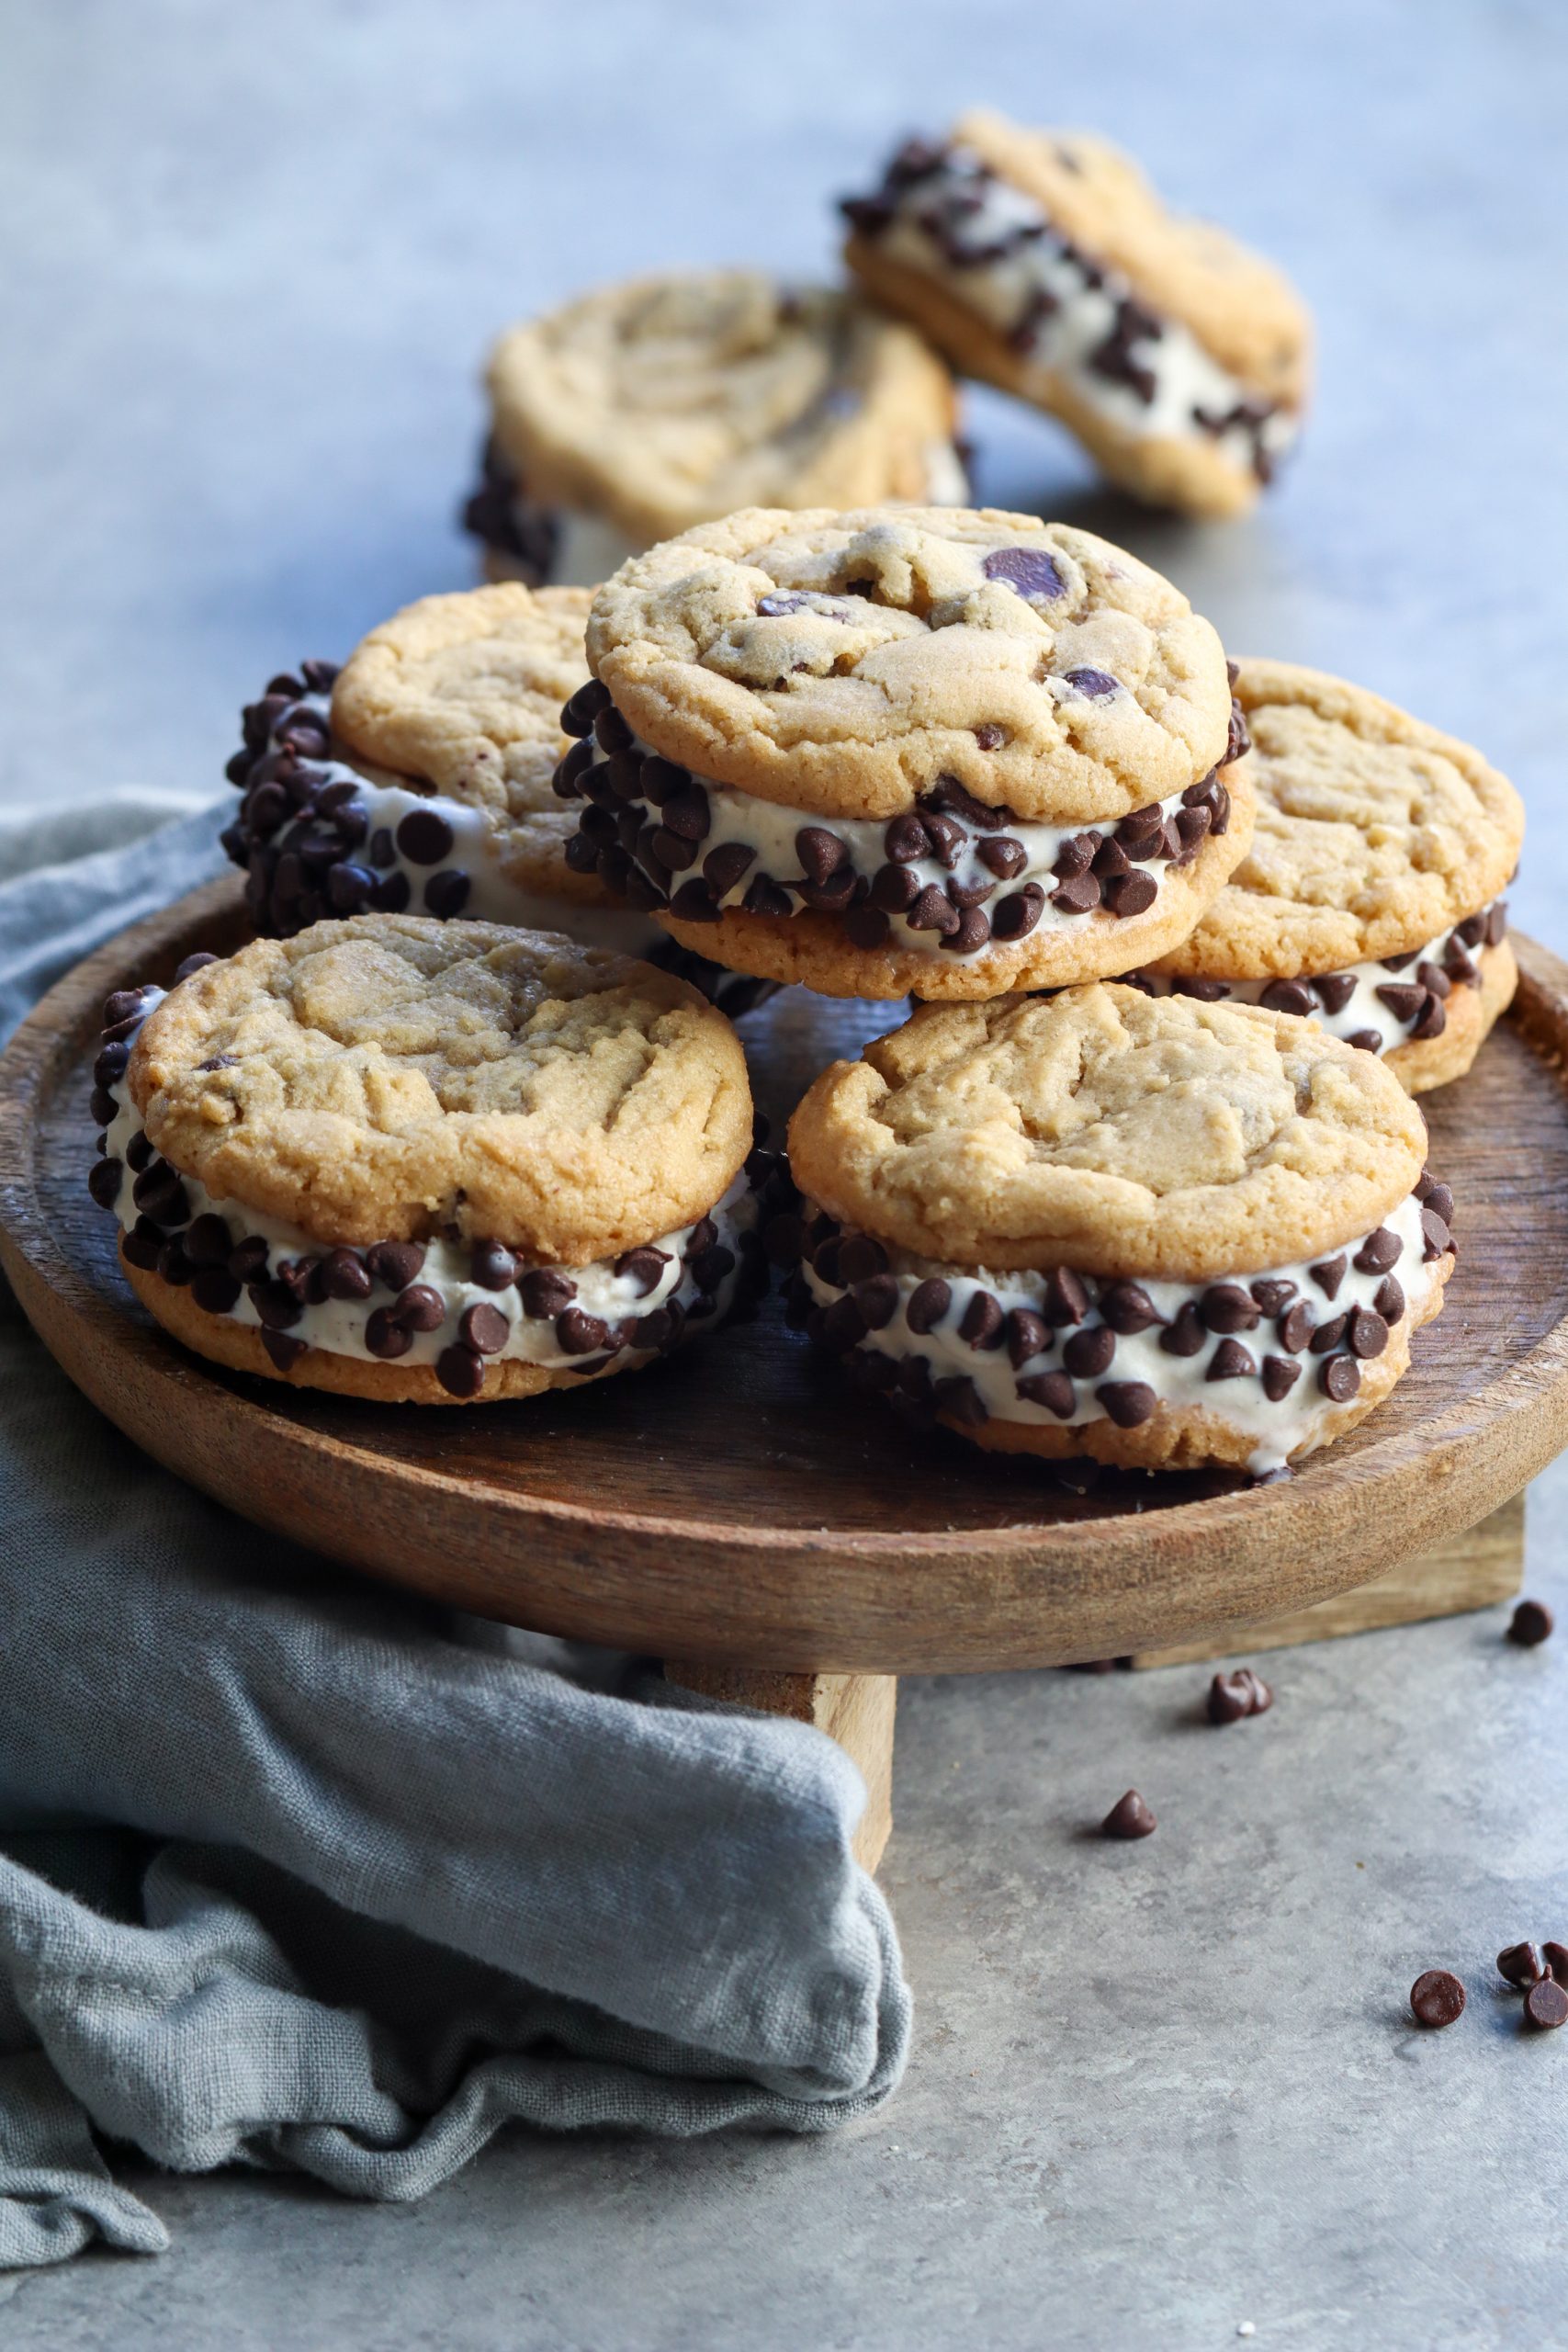
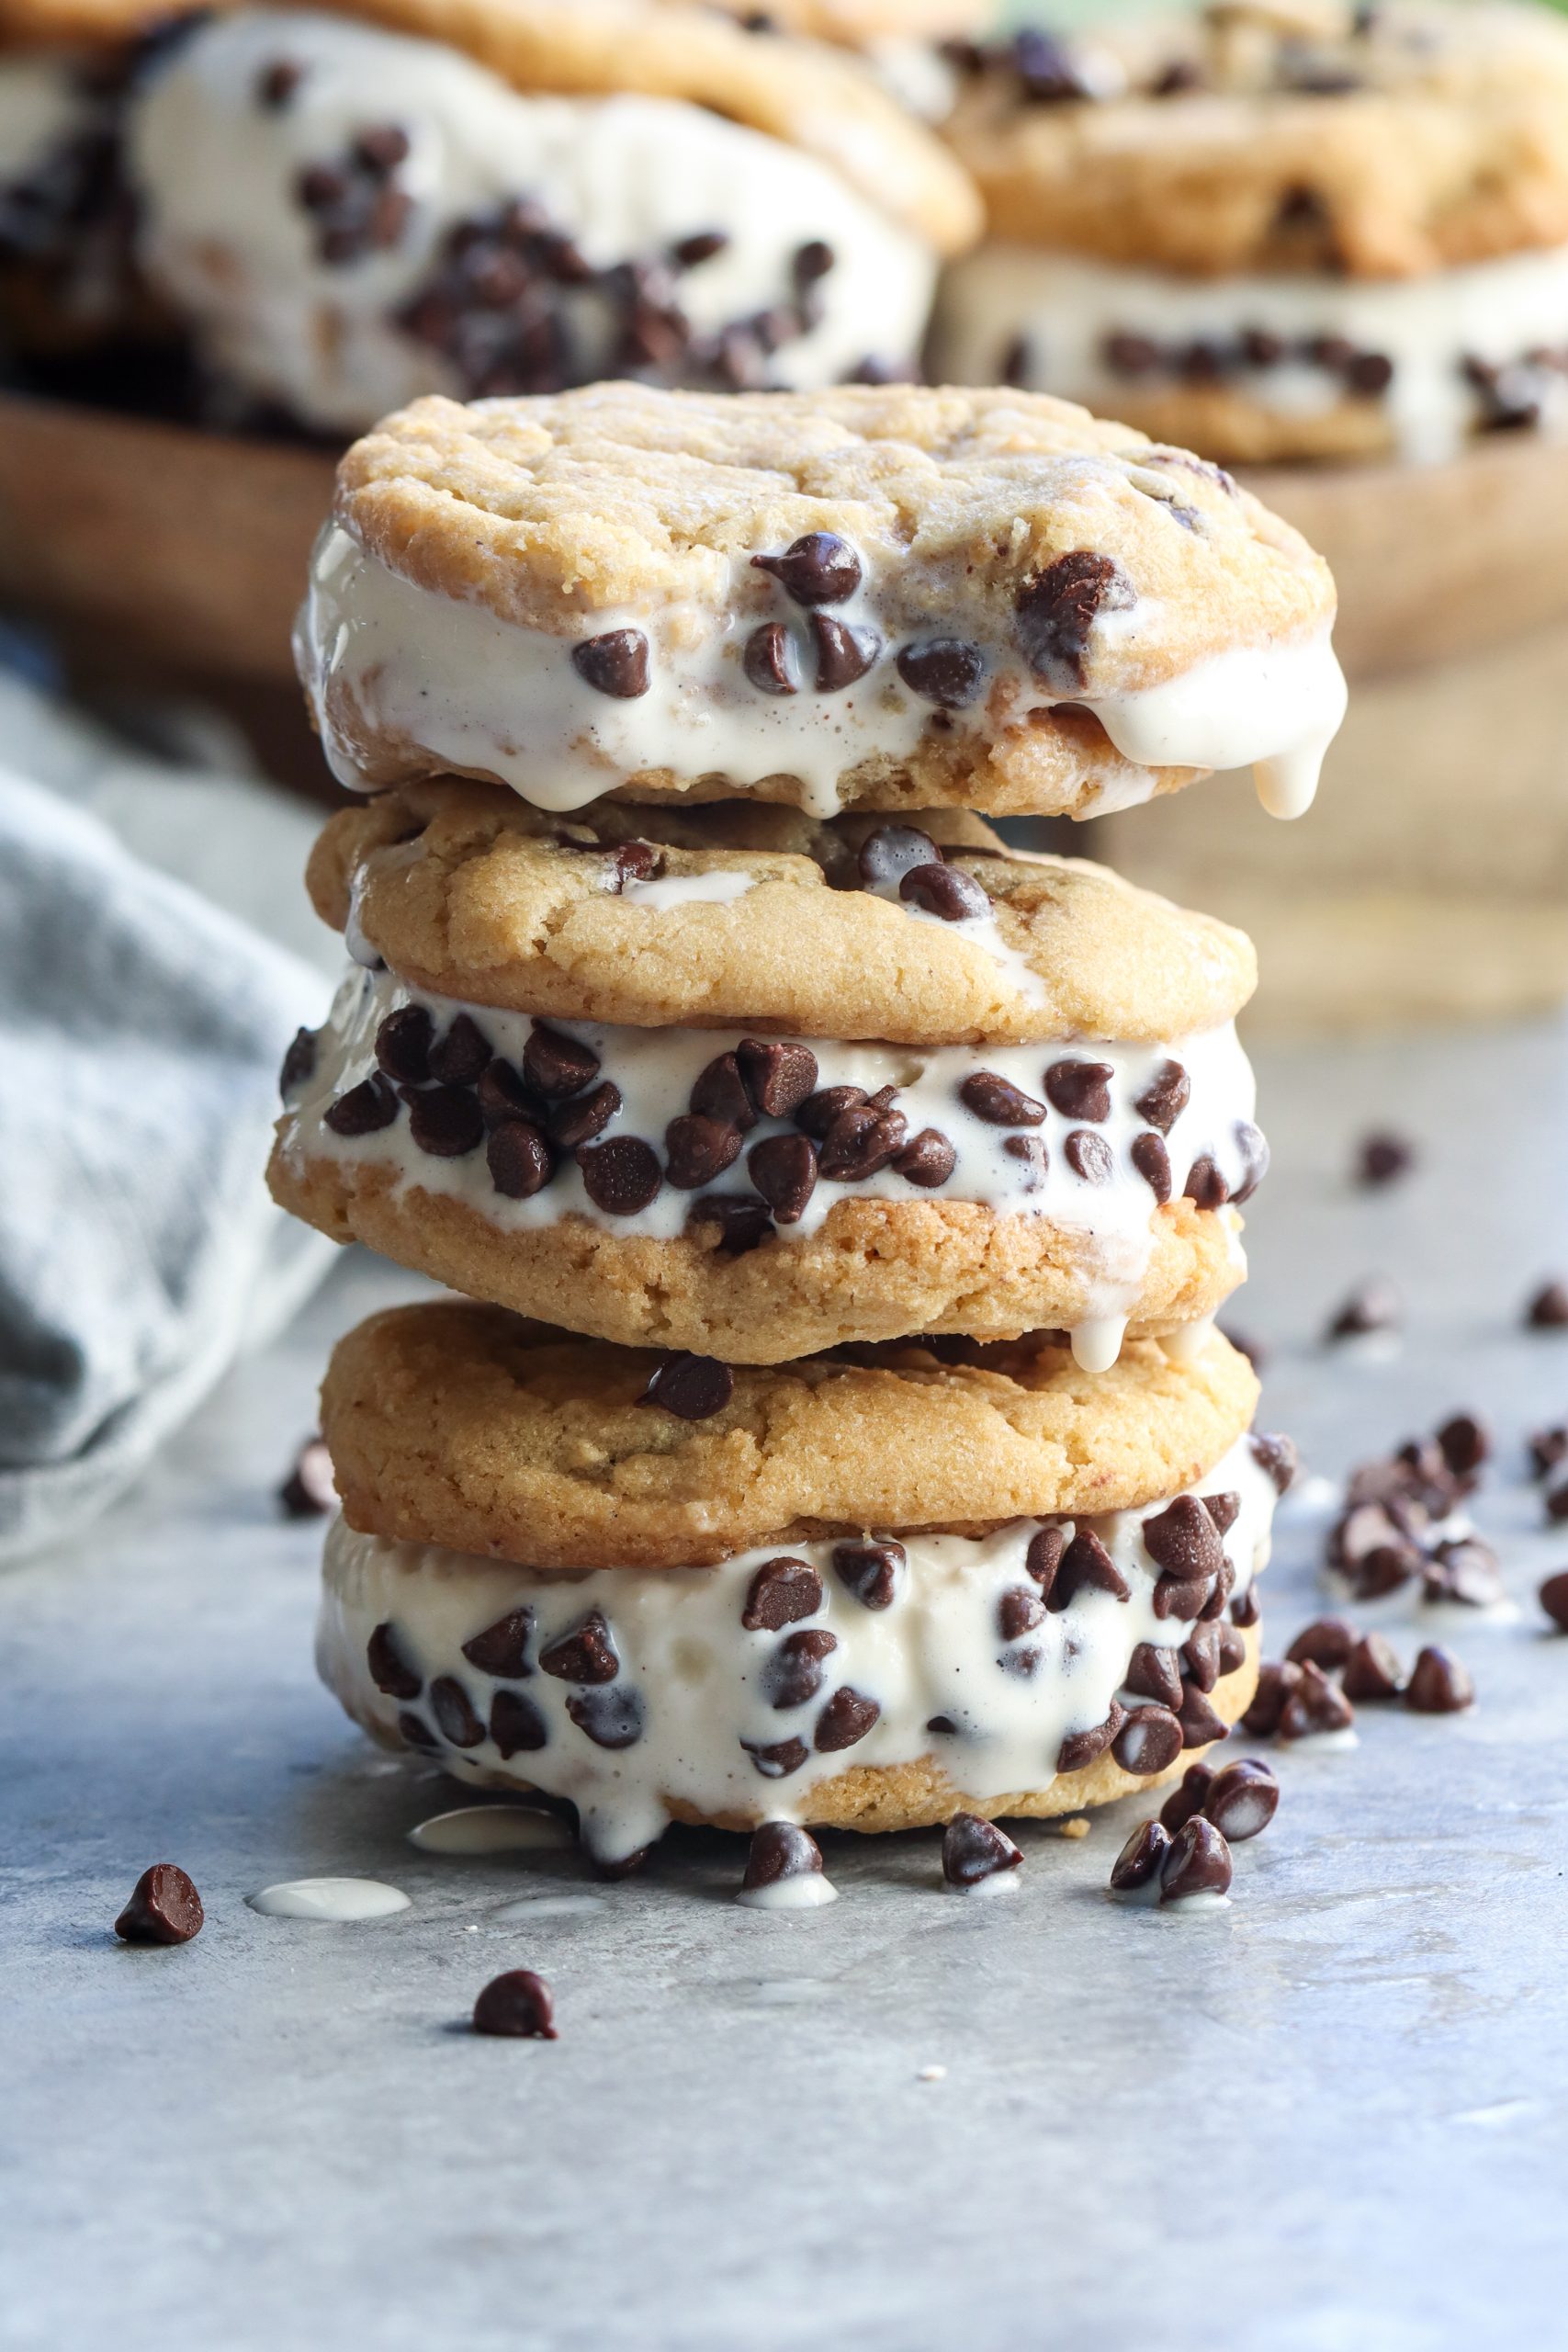
a homemade version of this classic ice cream truck treat!

I have vivid memories of running barefoot down my driveway in the summertime with my neighbors chasing after the ice cream truck with our ziploc baggie of change.
And my pick, every single time, was always a chipwich.

There’s something about it that just screams summer to me. It was also my pick every time we went to the beach when I was younger – I just associate it with the best memories.
And right now, good summer memories feel more important than ever.

The key to a really good cookie sandwich is finding the right cookie recipe. I tested a bunch of them out and ended up going with a NYTcooking one I found not only because it was super basic and easy, but because it spread to the perfect size upon cooking (no chilling required) and was hearty enough to hold up to the ice cream but still soft enough to bite into it.
That’s pretty much all you can ask for when it comes to a chipwich cookie if you ask me!

Once you got the cookies, all you gotta do is assemble. I went with the classic vanilla bean ice cream rolled in mini chips, but you can feel free to use whatever ice cream and dippers you like best.
It would be delicious with chocolate ice cream and sprinkles, strawberry ice cream and mini m&ms…there are no rules when it comes to a good summer ice cream cookie sandwich other than you have to eat it quickly because they go fast!


homemade chipwich sandwiches
- Prep Time: 10 minutes
- Cook Time: 15 minutes
- Total Time: 25 minutes + freezer time
- Yield: 12 sandwiches (depending on size of the cookies) 1x
- Category: dessert
Description
a homemade version of this classic ice cream truck treat!
Ingredients
For the Cookies (recipe from NYTcooking):
- 1 1/2 cups all-purpose flour
- 1/2 teaspoon baking soda
- 1 stick unsalted butter
- 1/2 cup granulated sugar
- 1/2 cup packed brown sugar (light or dark is fine)
- 1/4 teaspoon salt
- 1 egg
- 1 teaspoon vanilla
- 2/3 cup semi-sweet chocolate chips
For the Chipwich:
- 1/2 gallon vanilla bean ice cream (or any kind you like best) – you’ll have some leftover
- Mini chocolate chips for rolling the edges in
Instructions
For the Cookies:
- Preheat oven to 350 degrees F and line 2 baking sheets with a silpat or parchment paper. Set aside.
- Place a sifter over a large mixing bowl and combine flour & baking soda. Sift through then set aside.
- In a stand mixer fitted with a paddle, beat butter until creamy (about 2 minutes)
- Scrape down sides of bowl and paddle then add sugars and salt. Beat for an additional minute or until smooth.
- Scrape down sides of bowl and paddle then add egg & vanilla and beat on low for about 15 seconds or until fluffy.
- Scrape down sides of the bowl and paddle and then add flour. Beat on low speed until all flour is incorporated then fold in chocolate chips.
- Using a cookie scoop, scoop dough into balls and place 2 inches apart on prepared baking sheet. Bake for 13-15 minutes or until bottom and edges are gently browned. Allow to cool for 3-5 minutes on the baking sheet before removing to a wire rack to cool completely.
- Once completely cooled, place in a freezer safe bag and freeze for 30 minutes+
For the Chipwich:
- Place mini chips in a wide mouth bowl.
- Using an ice cream scoop, scoop ice cream onto the bottom of one cookie then sandwich (bottom first) with second cookie.
- Roll edges in mini chocolate chips.
- Enjoy immediately or wrap individually in plastic wrap and store in the freezer in a freezer safe bag.
Notes
- Sandwiches should last in the freezer for up to 1 month.
Keywords: flour, butter, sugar, salt, vanilla, chocolate chips, ice cream

Leave a Reply